The pieces in your kit
Your prism moss pole kit will contain 6 perspex panels that will create two modules, namely a bottom and top module. Each module is made up of 3 perspex panels. The bottom module is the part which goes directly into the pot while the top module fits snuggly on top of the bottom module. If your plant is small, you can start off with just the bottom module and only add the top module when required.
The bottom module pieces are as follows:
The top module pieces are the other 3 pieces in the set.
Additionally, included in the kit is 1 x bag of Chilean sphagnum moss, 3 x bottom and top module connectors and 33 cable ties.
Putting together your prism moss pole
1. If your perspex panels have a protective cover on them, take it off. Be careful not to drop the pieces as although they are durable, they are susceptible to cracking if dropped.

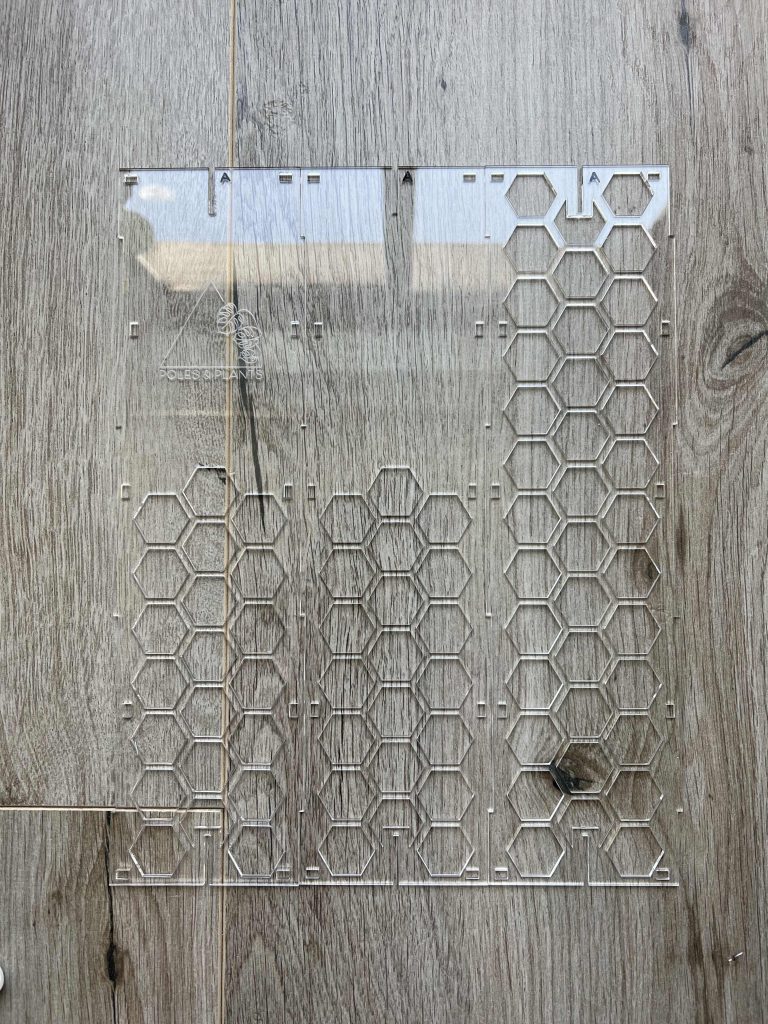
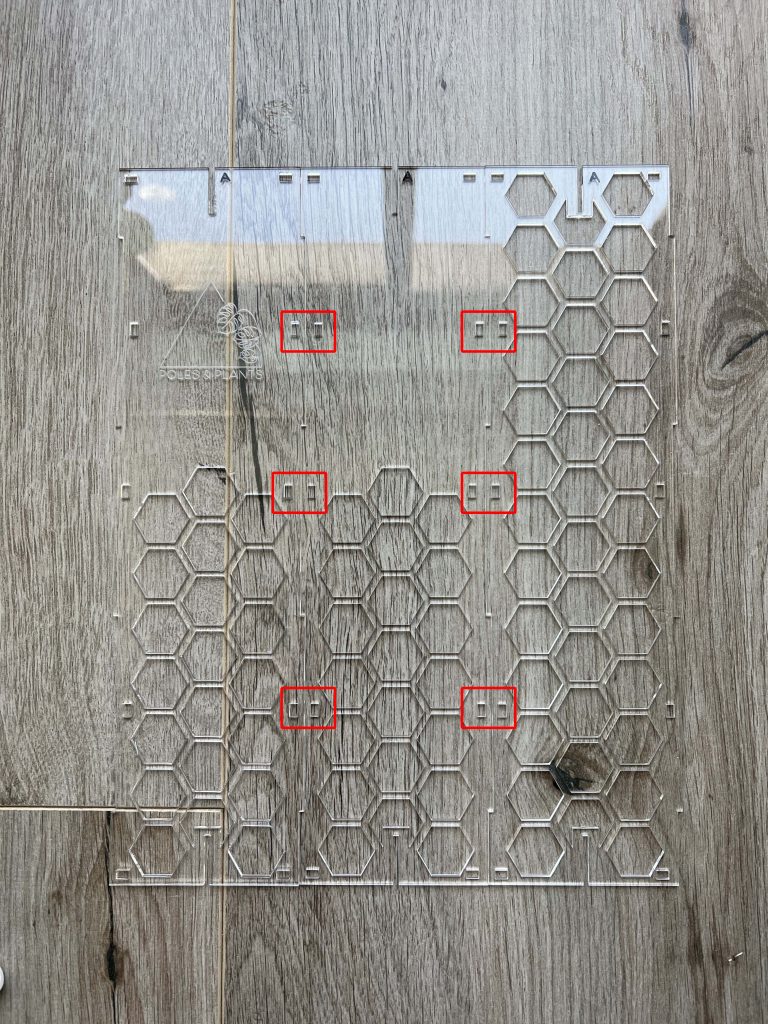
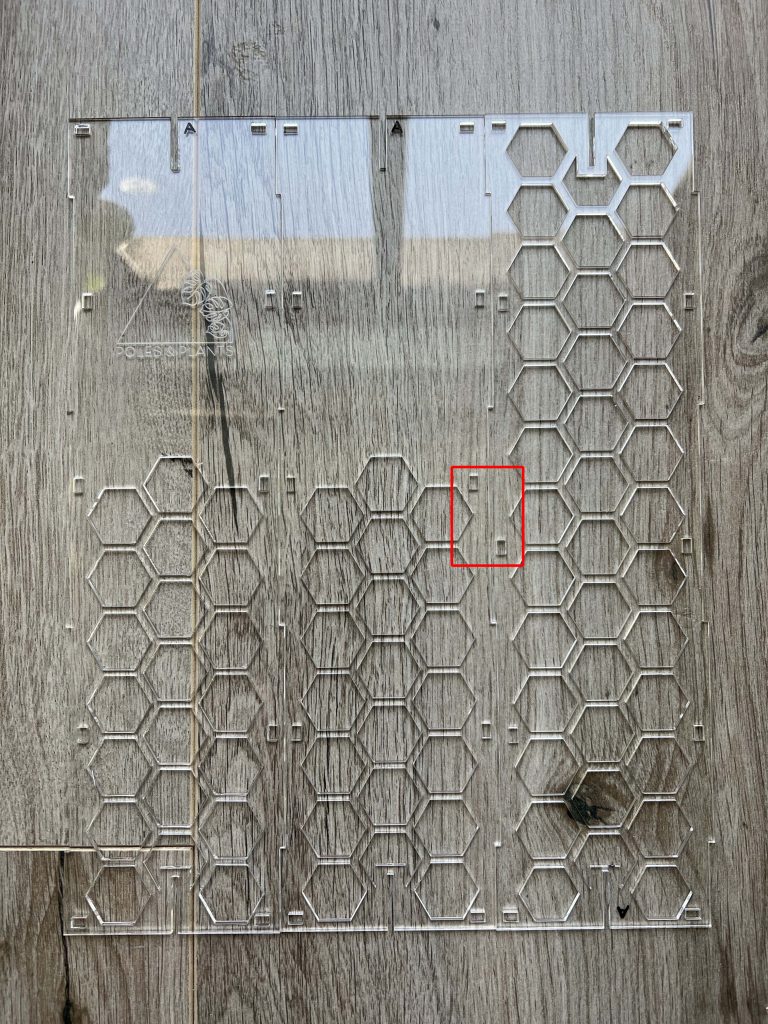
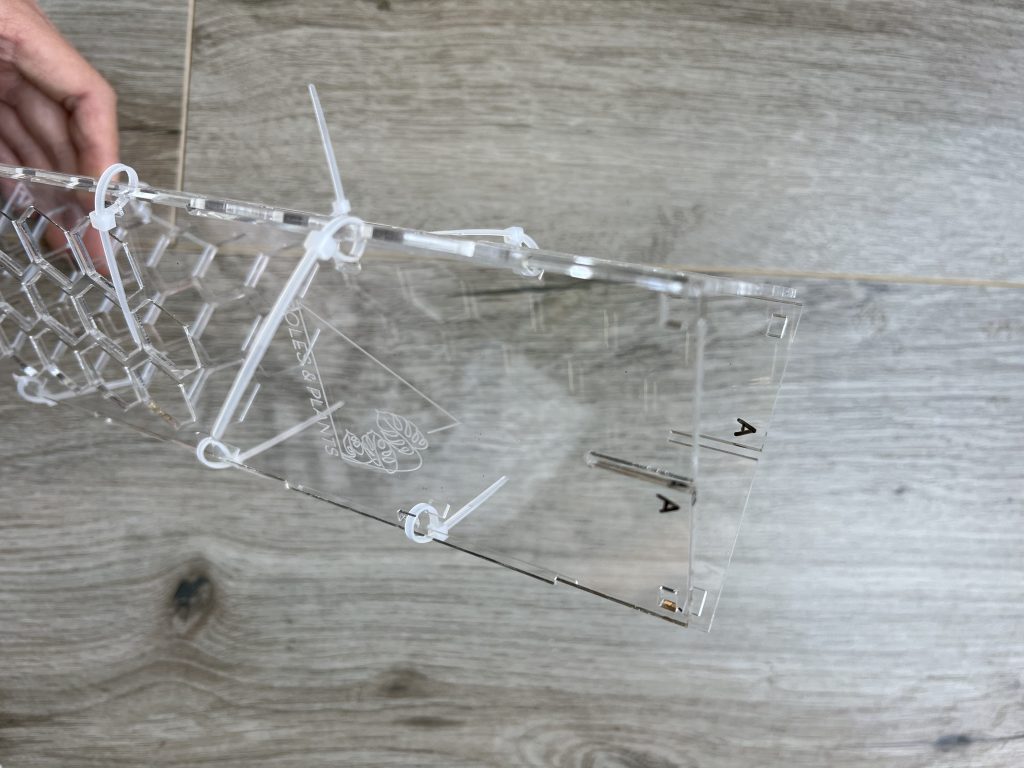
2. Identify the correct way to put the pieces together. The pieces need to be put together in the correct way. You will know that it is the correct way when all the holes of the panels align perfectly. The pieces in your set will make a bottom module and a top module. The “Poles & Plants” logo will be on the outside of the pole – place this piece face down on a surface. Place the other two pieces of the respective module next to this piece and fit them together like a puzzle. The pieces are in the correct orientation if all of the rectangular holes on the sides of the pieces align. See the pictures for the correct and incorrect orientations.
Once the correct orientation has been established, the pieces can be put together to make the modules. The sides facing up are the outside sides of the modules.
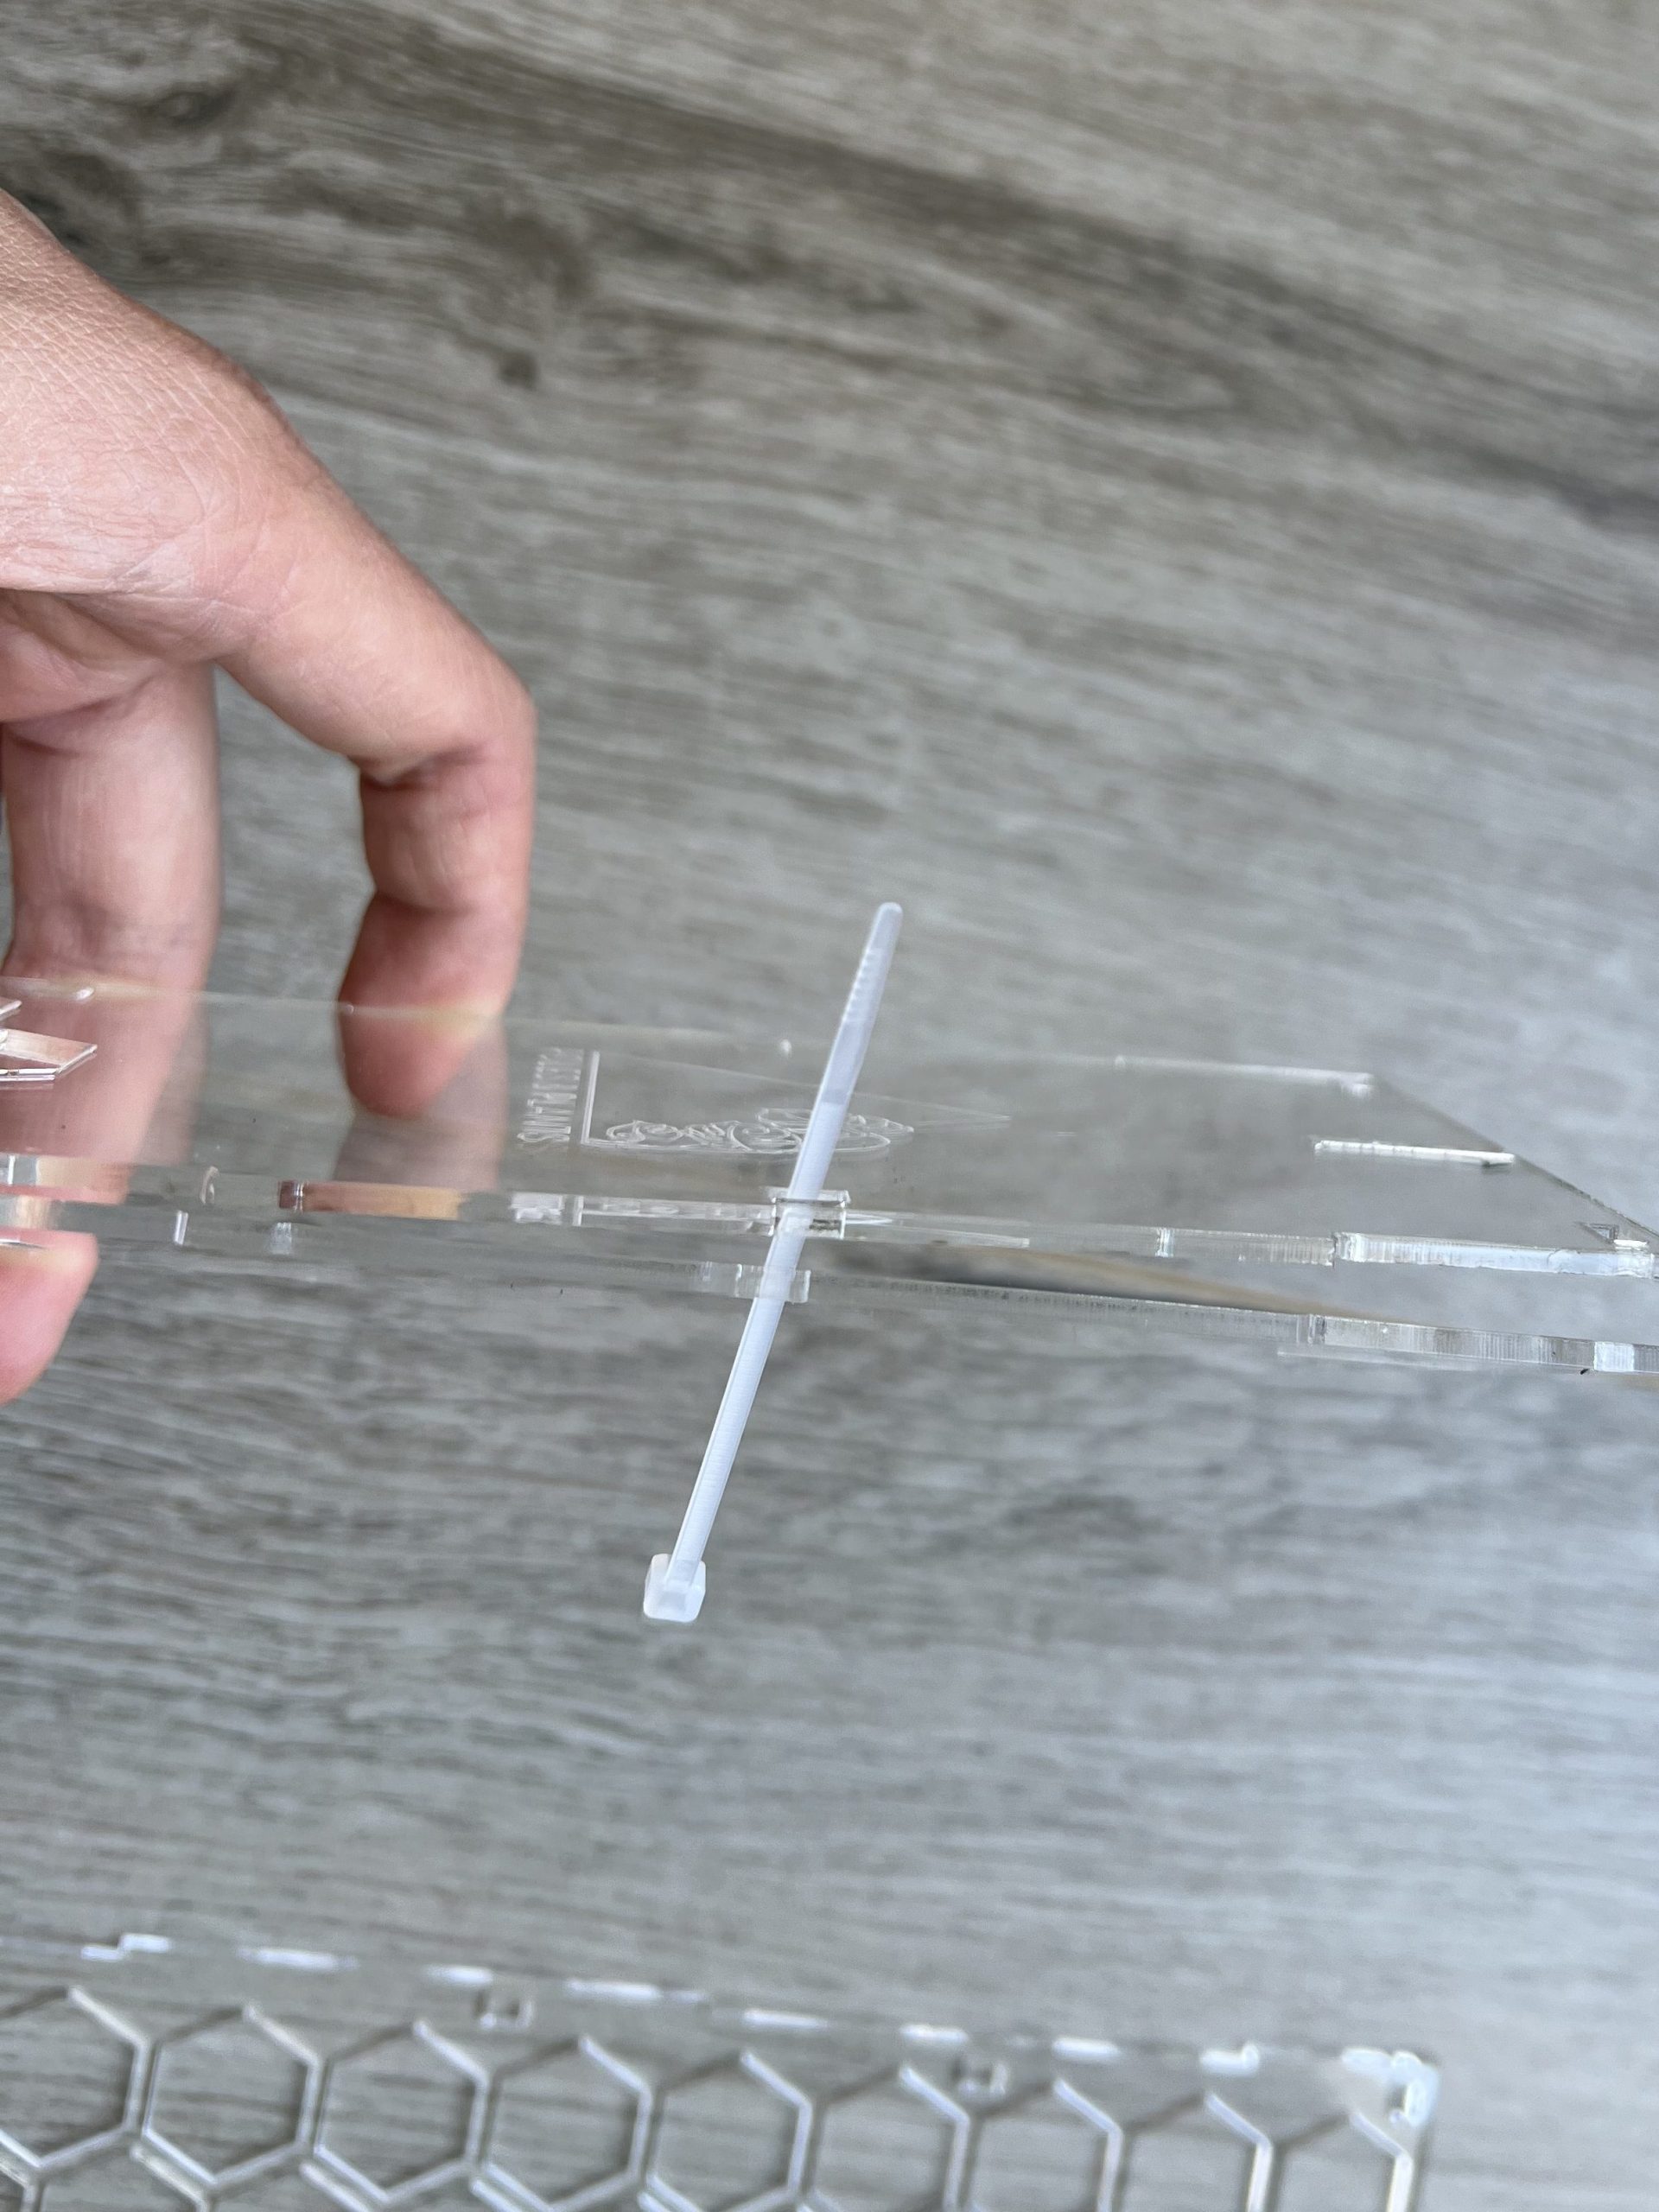
3. Using the cable ties provided, 15 per module, start to put together the pieces. Do not pull the cable ties tight initially. The cable ties are only to be pulled tight once all the cable ties have been installed. Thread a cable tie through the vertical orientated rectangle of one piece and then through the same vertical orientated rectangle of another piece.
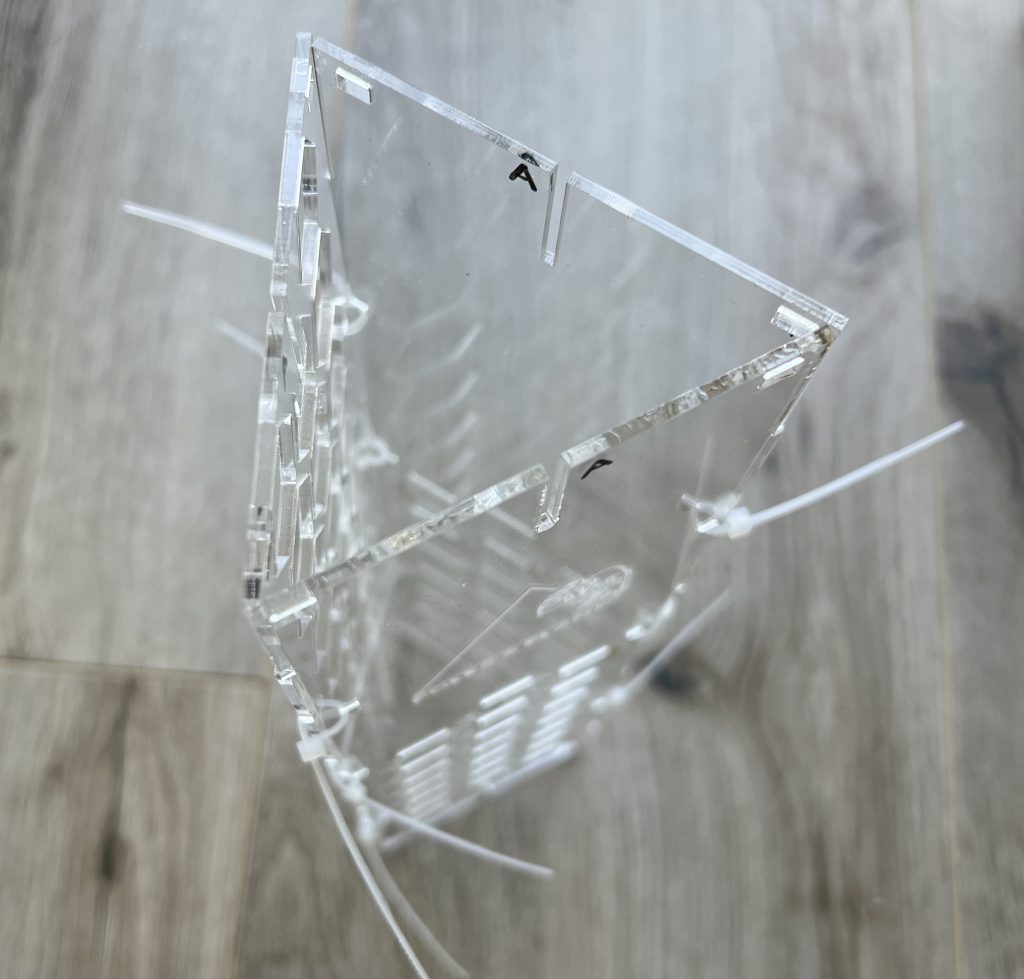
- Once all 15 of the cable ties have been
installed, the 3 pieces should come together
to form a prism. If the pieces are orientated
correctly, the “grooves” should fit together
perfectly.
- The cable ties should be loose as follows
until the module is put together completely.
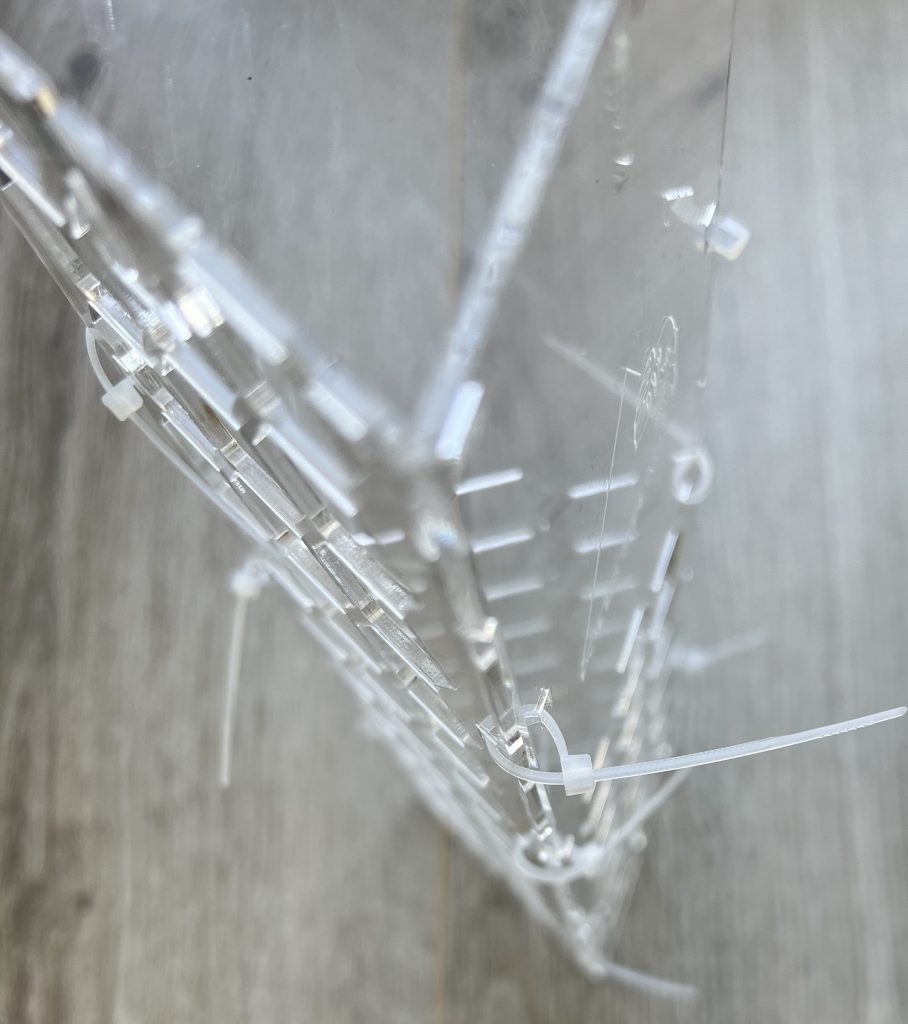
- One by one, little by little, carefully pull the
cable ties tighter. Take care to ensure that
the pieces form together perfectly and the
grooves of each piece fit into each other.
Once complete, all the cable ties should be
pulled tight.
- Use a pair of scissors to carefully cut the end
pieces off of the cable ties.
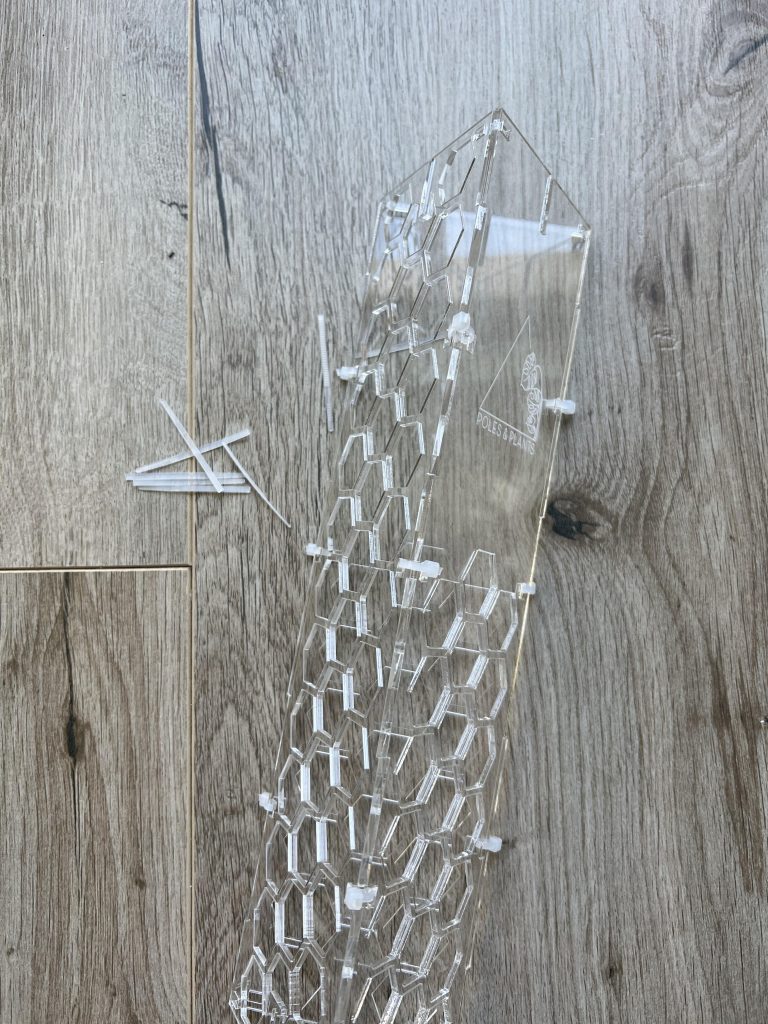
8. Follow the same steps for putting together the top module. Do not fill the top module with moss until the top module is fitted to the bottom module.
Installing your prism moss pole
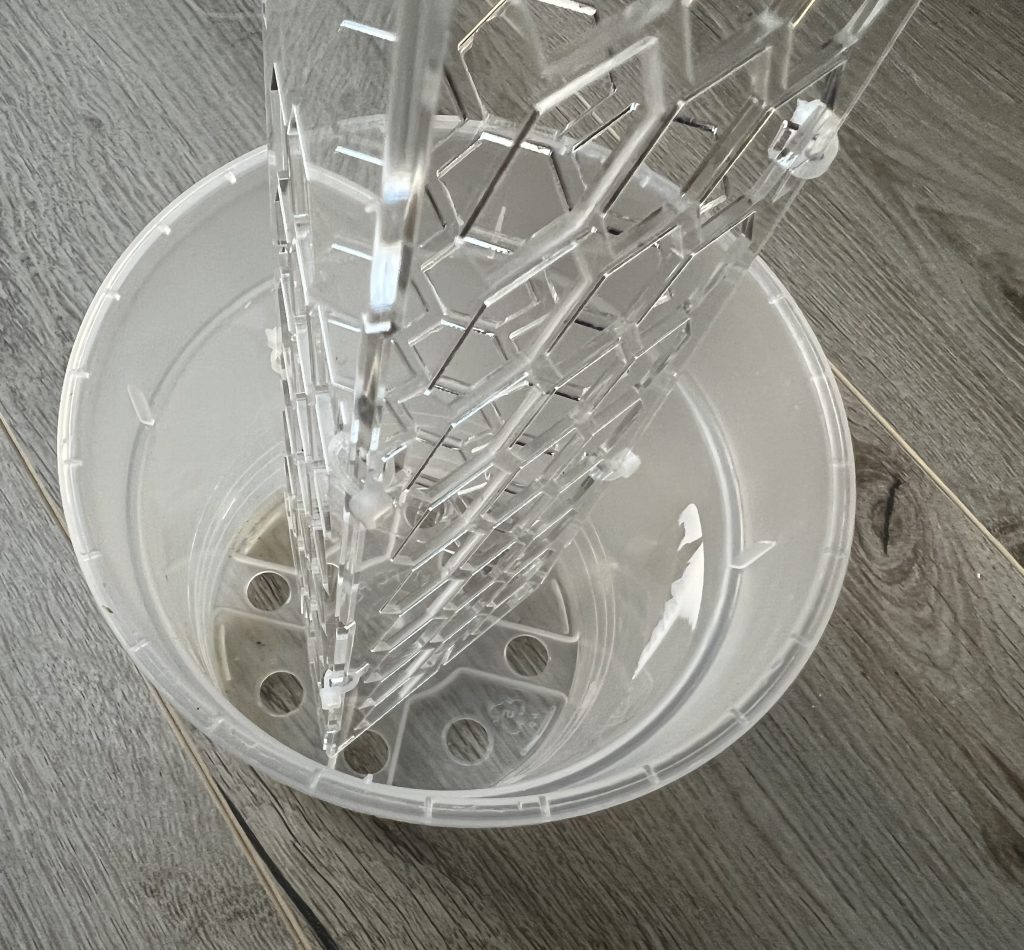
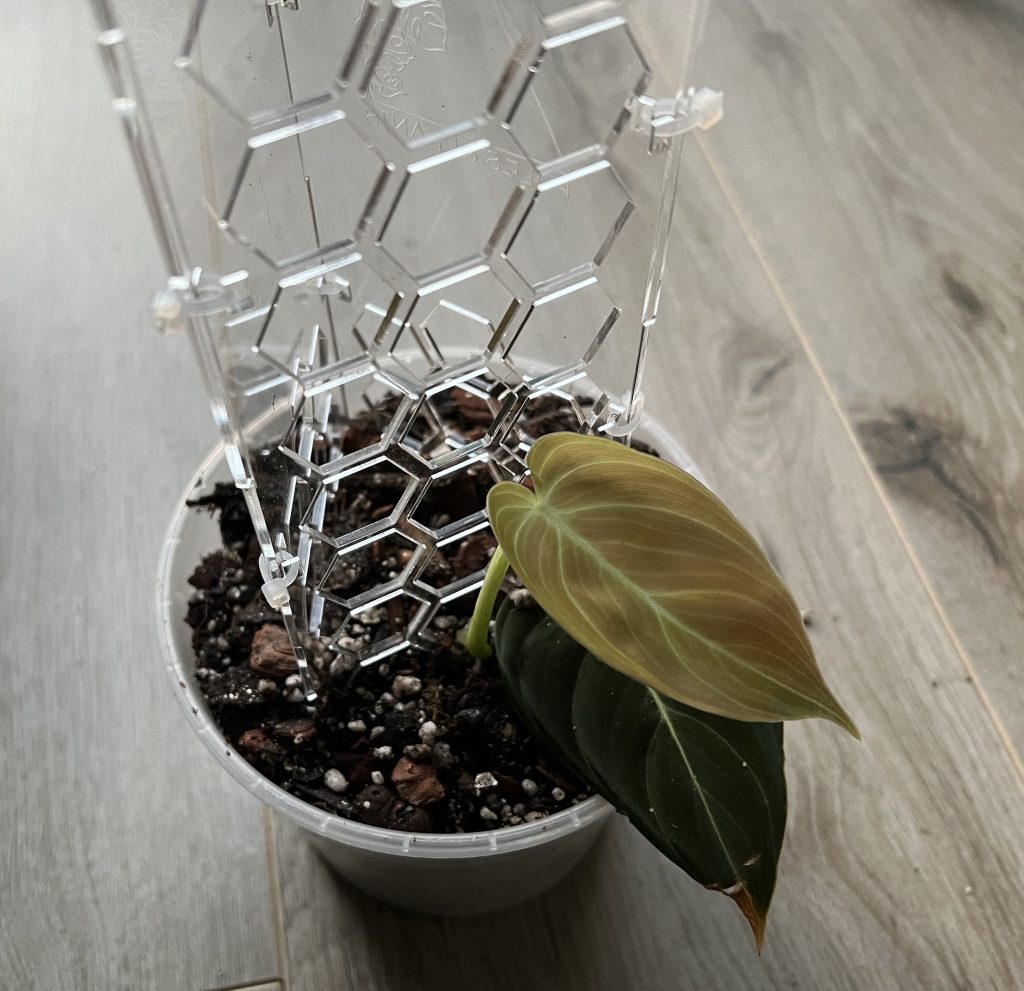
- Place the bottom module directly into an
empty pot. 14cm pots work the best, but a
bigger pot can be used if need be. The
bottom side of the module that should be in
the pot is the side that has the hexagon
holes on all 3 sides. This is to allow the roots
to eventually grown into the pole, anchoring
it firmly in the pot.
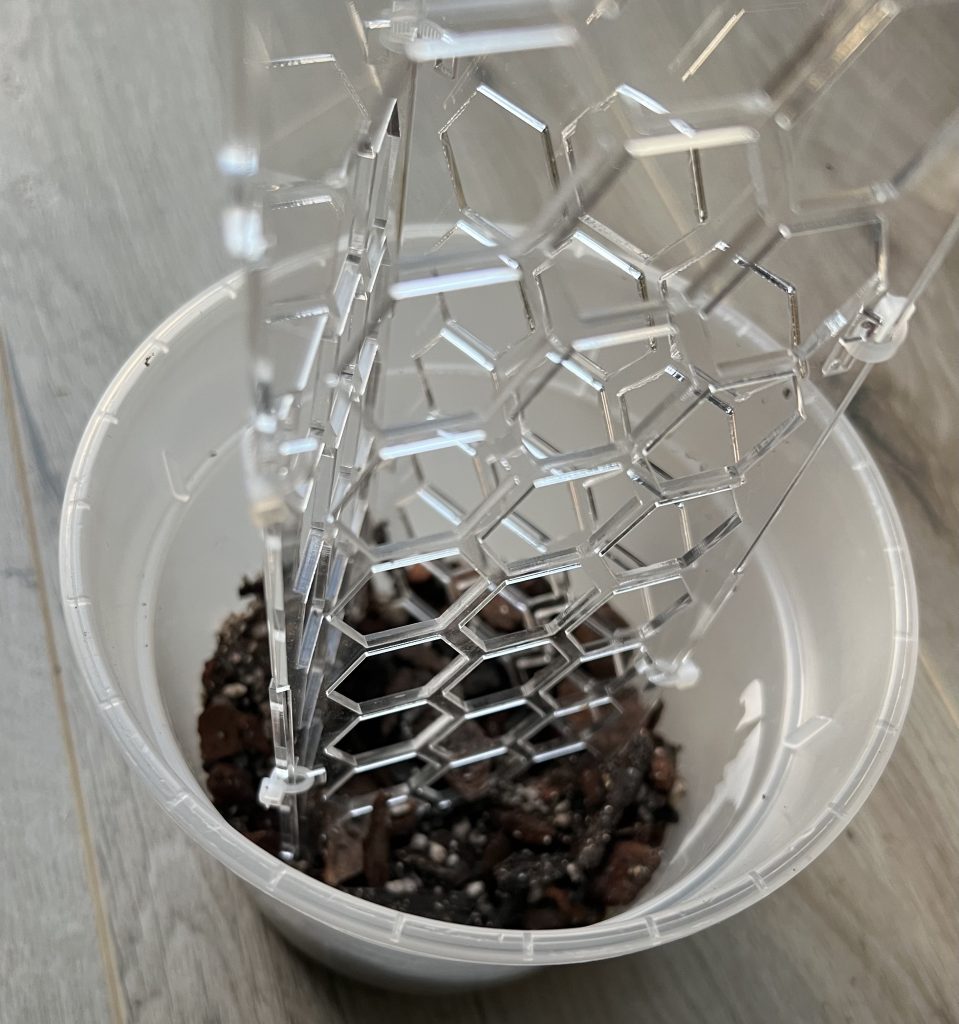
- Fill the pot with a layer of potting mix. I
recommend using a very chunky mix for
moss pole plants. The layer will stabilise the
pole in the pot. To make the pole more
stable, you can also use a layer of leca or
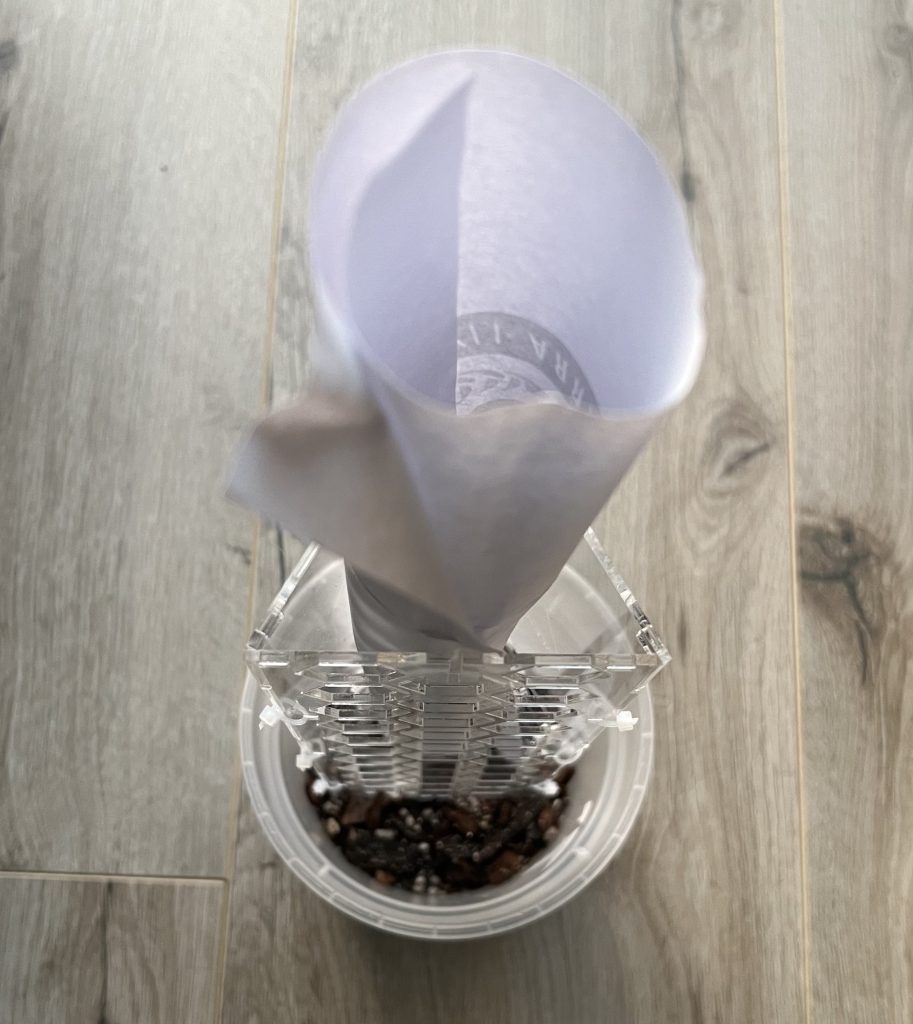
small rocks. Use a paper funnel to fill the
inside of the pole without dirtying the inside of the pole with soil.
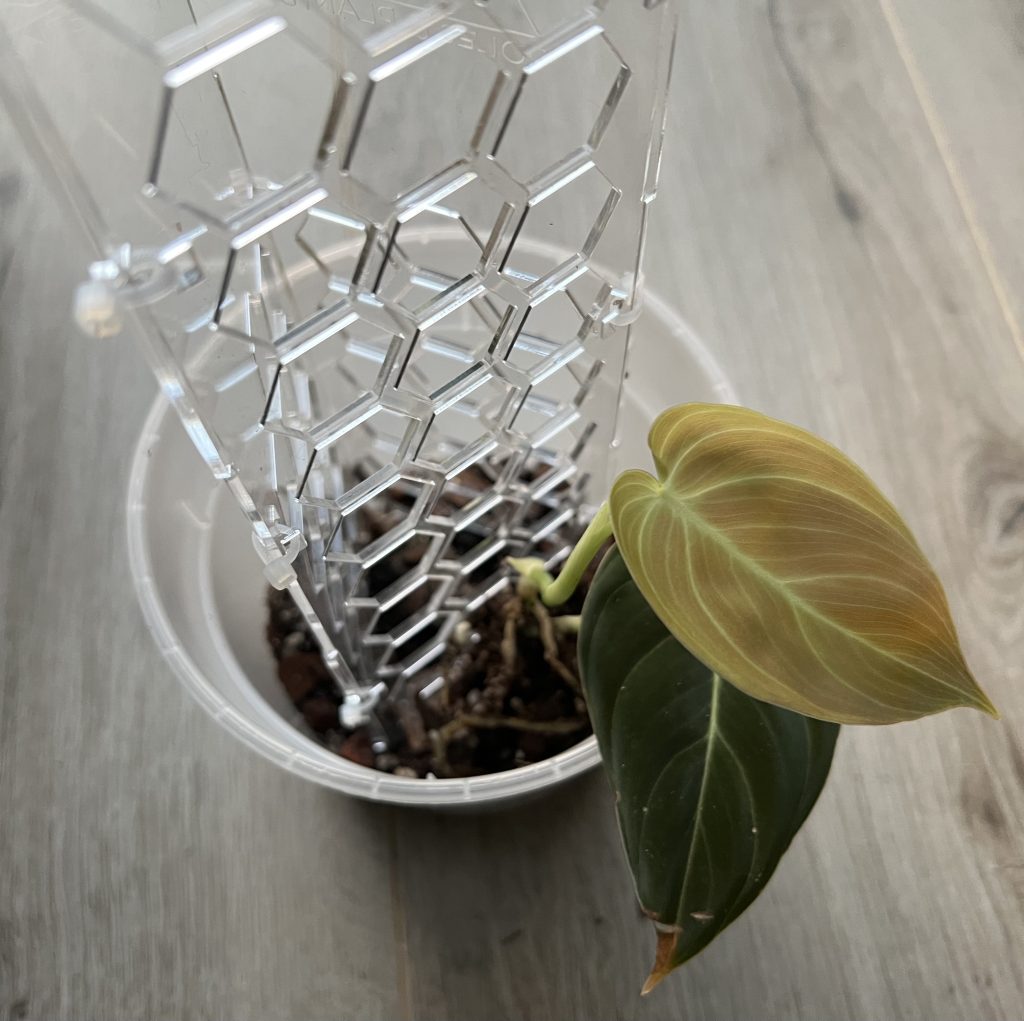
- Pot up your plant. With moss poles, it is
always best to start off with smaller plants
on a pole. This is because the old nodes of
larger plants will most likely not start to
grow aerial roots and only the new nodes
will grow aerial roots. A bigger plant will
hence “waste” the moss pole real estate
while a smaller plant will make the most out
of it. That being said, there is nothing wrong
with putting a larger plant onto a moss pole,
just don’t expect the old nodes to root into
the pole.
- Fill to the top with aroid mix. Don’t forget to
fill the inside of the pole too!
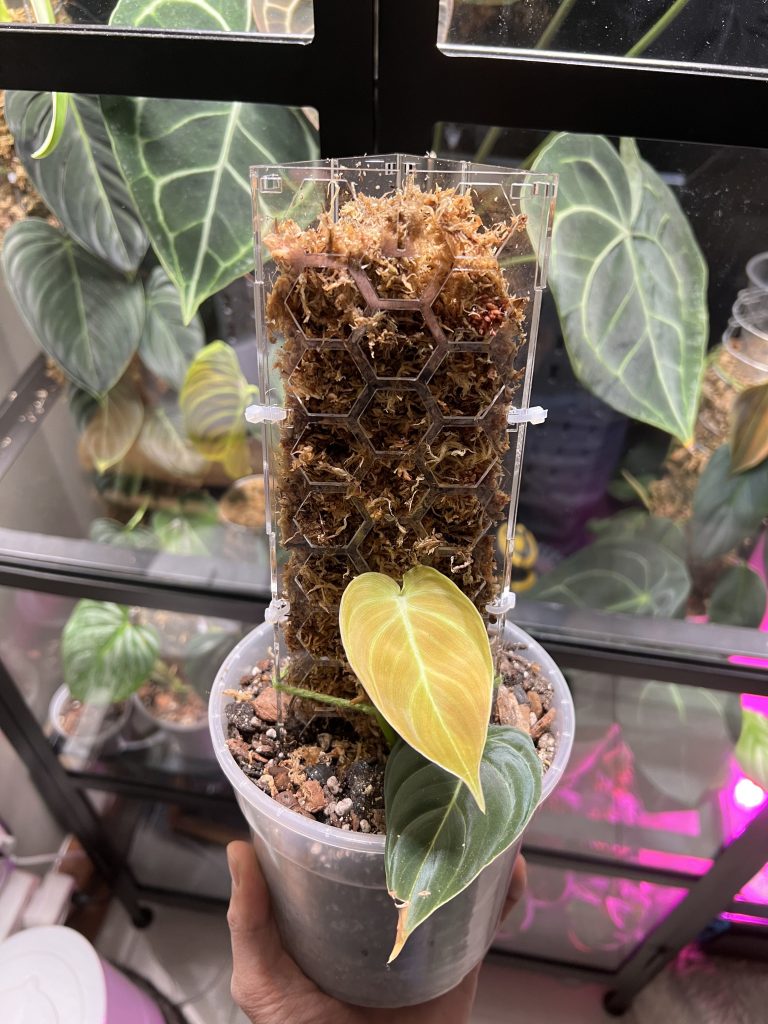
- Fill the inside of the moss pole with the
sphagnum moss provided. Take out any
stringy parts in the moss or any sticks. Use a
stick to push the moss down. Do not
compact the moss too much in the moss
pole. The moss should still be airy and
“fluffy” in the pole.
- Use some string to make sure that the nodes
of the plant are touching the moss. This will
encourage the nodes to form aerial roots
and root into the pole. Once the nodes root
into the pole, you can remove the string.

- Remember to water the moss pole and pot thoroughly after potting the plant. Try to keep the moss moist at all times.
Stacking the modules together
- Use the 3 module connectors provided and slot them into the grooves on the top of the bottom module.
- Slot the top module onto the top of the bottom module. The connectors should slot into the grooves on the bottom of the top module.
- Use the 3 additional cable ties to secure the top module to the bottom module. This step is optional. Folding the cable ties to make a “u” shape makes it easier to thread the cable tie through the holes of the bottom and top module.
- Fill to the top module with sphagnum moss.